


 当前位置:
当前位置:功率计&频率计制作
[10-10 20:38:44] 来源:http://www.88dzw.com 电子制作 阅读:8524次
文章摘要:The rear side is COBber, so that it is easy to solder the walls to it. Here is all the PCB parts before soldering.The depth of 40 mm is the minimum size, now there is no room for batteries or RS-232All measurements in millimeters as usual. Here is the M3 nut, before it is soldered to the mounting pl
功率计&频率计制作,标签:电子小制作,http://www.88dzw.com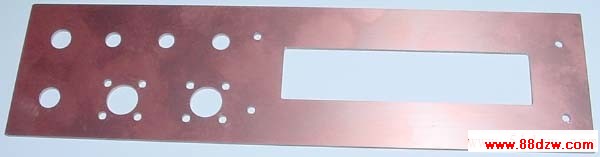
The rear side is COBber, so that it is easy to solder the walls to it.
Here is all the PCB parts before soldering.
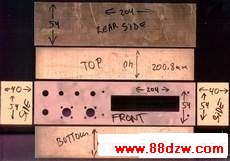
The depth of 40 mm is the minimum size, now there is no room for batteries or RS-232
All measurements in millimeters as usual.
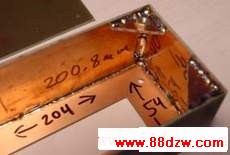
Here is the M3 nut, before it is soldered to the mounting plate.
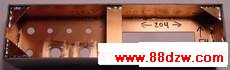
Case is now almost ready for painting.
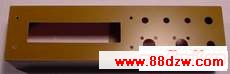
Seen from front, just before painting.
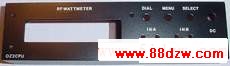
When it is painted, the text can be added, use SENO or LETRA-SET,
Then a transparent paint is sprayed on to secure the text.

Here the unit finished !
Tag:电子制作,电子小制作,维修教程知识 - 电子制作
- 上一篇:调幅音频发射电路
《功率计&频率计制作》相关文章
编辑推荐
最新更新
热门排行